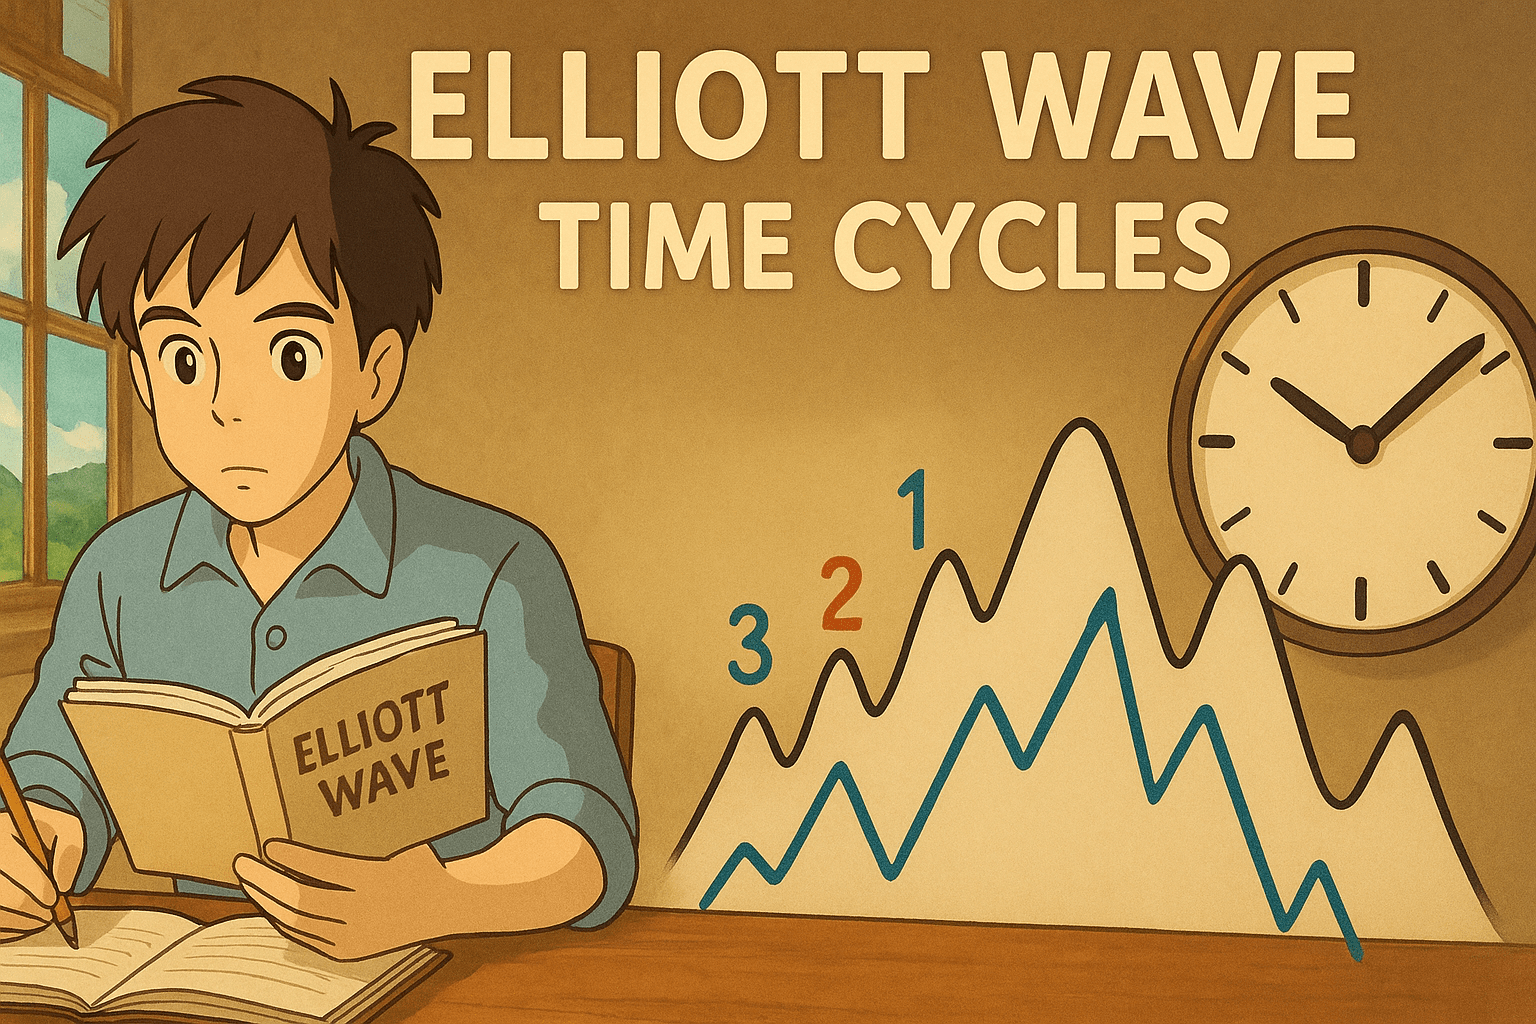

Most traders panic when the price suddenly stalls after a strong move.
But Elliott Wave traders? They get excited.
Because that pause could be the Elliott Wave 4th Wave Retracement, which is one of the best high-probability entry setups before Wave 5 delivers the final push.
In this guide, we break down exactly what Wave 4 retracement is, how far it can go, what rules you must follow, and how to find real trading opportunities around it in live markets.
What Is Elliott Wave 4th Wave Retracement?
Think of an impulse wave pattern like a three-step advance with a brief pause before the final stretch.
That pause? That is your fourth wave.
And here is something most traders overlook: Wave 4 tends to take more time to complete than Wave 2.
So if price seems to be dragging sideways longer than expected, do not panic and do not exit early.
That is just Wave 4 doing its job.

It is corrective, not a trend move. And that distinction matters.
Traders often want to know:
- Why does Wave 4 retrace at all?
- How deep can it go before the pattern breaks?
- Can it dip into previous wave territory?
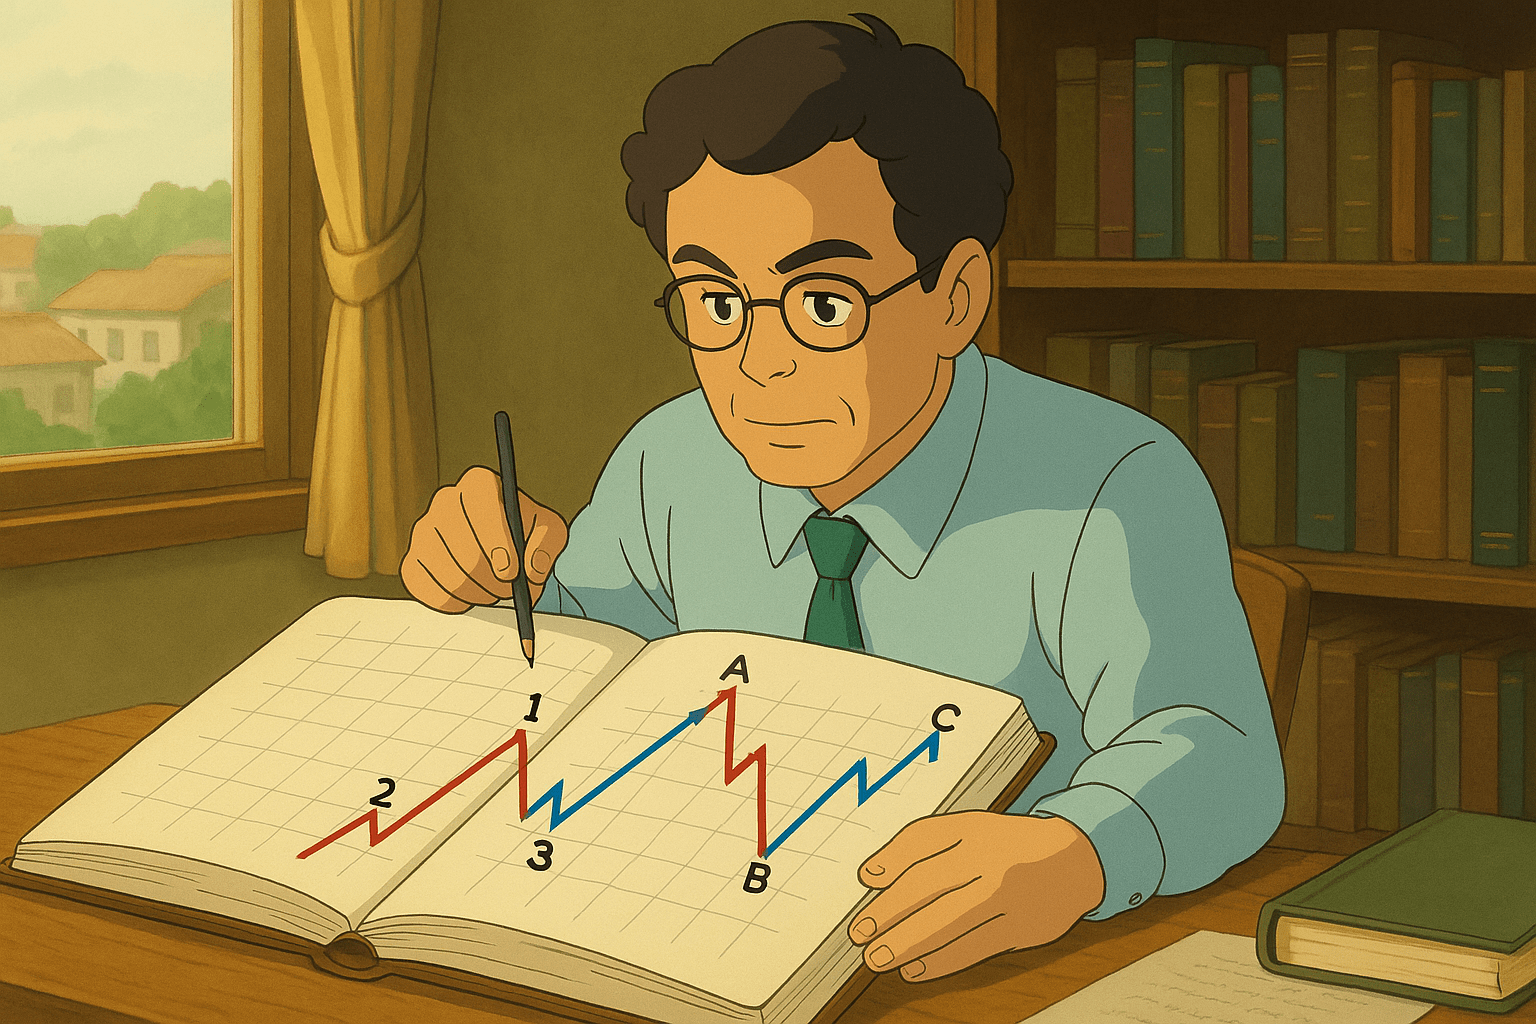
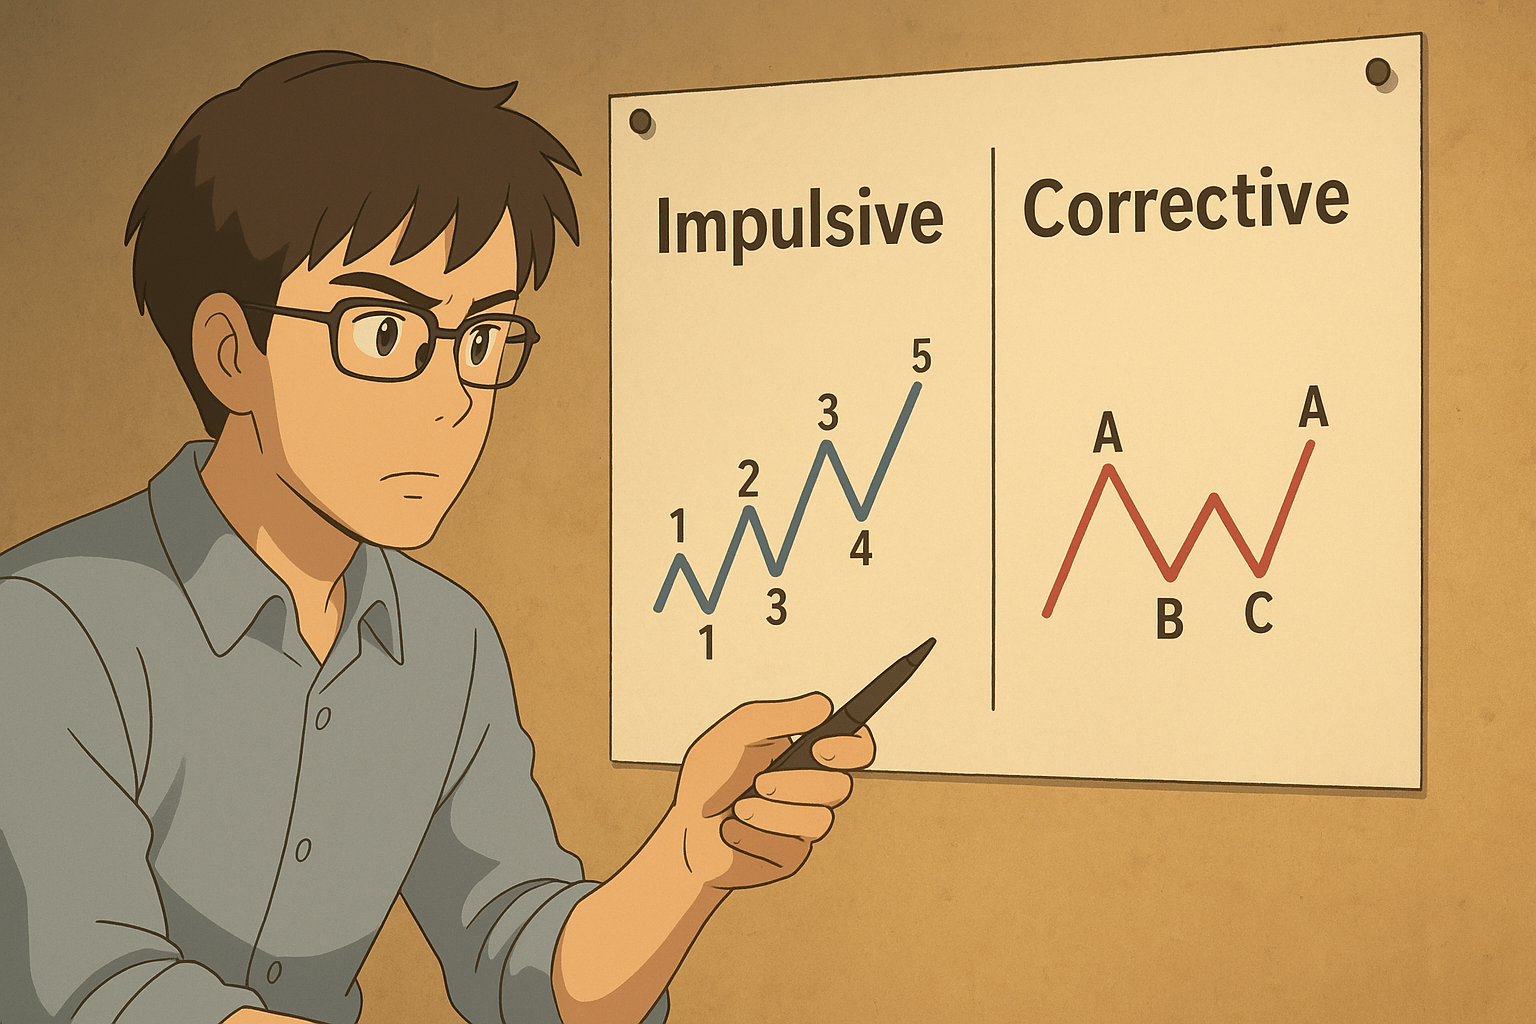
According to classical Elliott Wave Theory, an impulse is composed of five waves: 1, 2, 3, 4, and 5, where waves 1, 3, and 5 push the trend forward while waves 2 and 4 pull it back.
Wave 4 is essentially the market taking a breath after the powerful surge of Wave 3, but it stays within defined limits to keep the wave count valid.
Quick Recap Of Wave Structure:
|
Element |
Purpose |
| Wave 1 |
Trend starts |
|
Wave 2 |
Deep correction |
| Wave 3 |
Strong trend leg |
|
Wave 4 |
Pause/correction |
| Wave 5 |
Final trend push |
Now that you can see how each wave plays its role, notice that Wave 4 sits right between the two most powerful legs of the impulse.
That is exactly why getting Wave 4 right can set you up perfectly for what Wave 5 brings next.
Elliott Wave Theory Wave 4 Retracement Rules
Before opening a trade, you must know the Elliott Wave 4 rules. These are not suggestions but firm Elliott principles.
Look at the core retracement rules:
Rule 1: Wave 4 Must Not Overlap Wave 1 Territory
In a normal 5‑wave pattern, the price for Wave 4 cannot move into the price area of Wave 1. If it does, you may have miscounted or are in a different pattern.
Note: This is also your stop loss anchor; if the price breaks below the Wave 1 high, your Wave 4 count is invalidated, and the trade should be closed immediately.
Rule 2: Wave 4 Should Respect Fibonacci Levels
Wave 4 usually retraces part of Wave 3’s gain. Traders often use Elliott Wave with Fibonacci calculations to mark these zones and watch price reactions.
Rule 3: Alternation Often Holds
If Wave 2 was deep, Wave 4 often remains shallow. If Wave 2 was shallow, Wave 4 may carve out a complex sideways correction. This isn’t a rule, but it’s a frequent tendency.
What Pattern Does Wave 4 Form? Common Correction Types
Wave 4 is corrective, and its structure determines the entry and expectation of traders.
The kind of correction is also correlated to the alternation principle: assuming that Wave 2 was sharp, the Wave 4 will be shallow or sideways.
Common Wave 4 patterns are:
- Elliot Wave Flat Correction – price moves sideways with a brief retrace that may appear to challenge a previous high.
- Elliot Wave Triangle Pattern – a sideways, contracting range that can last longer before Wave 5 begins.
- ABC Zigzag – a short, sharp retracement, though more typical in Wave 2.
Understanding the pattern guides trade strategy and risk management. It helps traders avoid false breakouts during volatile swings.
It also improves timing by focusing on post-pattern breakout opportunities.
What Is The Retracement Level Of Elliott Wave 4?
A precise number? There’s no mechanical magic level, but some areas appear most often on real price charts.
Practical practitioners see Wave 4 usually pull back within:
- 23.6% of Wave 3
- 38.2% of Wave 3
- Often, it is closer to 38.2% or 50% of Wave 3
The deeper levels (like 50% or more) sometimes occur, but if it gets too deep and approaches Wave 1’s price, the pattern can lose validity.
Typical Elliott Wave 4 Retracement Levels:
|
Retracement Level |
What It Means |
| 23.6% |
Very shallow pullback |
|
38.2% |
Classic corrective zone |
| 50% |
Moderate correction |
|
Above 61.8% |
Rare and often problematic |
Where Does Wave 4 Actually End? The Sub-Wave 4 Rule
Wave 4 almost always ends near the price area of sub-wave 4 of Wave 3, making it one of the most precise targeting rules for traders.
This combines Fibonacci retracement with a natural support zone from the previous impulse, giving a much sharper entry target than using 38.2% alone.
Observing this sub-wave zone helps traders plan trades with better risk-to-reward.
Example:

Take a look at the above chart:
- Wave 1 starts at Rs. 500
- Wave 3 peaks at Rs. 1000
Wave 4 retracement targets:
- 23.6%: pulls back to roughly Rs. 900.7
- 38.2%: pulls back to about Rs. 801.8
- 50%: pulls back near Rs. 750
If the price drops below the Rs. 500 – Rs. 510 area (top of Wave 1), the count may break. This usually signals that the structure is no longer a valid impulse wave.
At that point, traders often reassess the chart, as the market may be forming a different corrective pattern or a larger trend reversal.
Can Wave 4 Overlap Wave 1?
Strictly under classic Elliott rules, no. Wave 4 should not retrace into Wave 1 territory.
If it does, the impulse count is invalid unless the structure is a special diagonal formation (rare outside advanced charts).
Some traders working with less rigid systems might accept a slight overlap, but that’s not textbook and increases risk.
Elliott Wave 4th Wave Retracement in Trading Setup
Wave 4 provides the traders with a good opportunity to trade on the trend with improved risk-reward.
Because Wave 3 often delivers the strongest move, catching Wave 5 after Wave 4 sets up can be a sweet spot.

Typical Trading Steps:
- Mark Wave 1 and Wave 3 levels on the chart
- Apply Fibonacci retracement from the start of Wave 3 to its peak
- Watch for price reactions near 38.2% and 50% zones
- Confirm price holds above Wave 1 high
- Enter after the structure suggests the end of the Wave 4 pattern
- Place a stop below the Fibonacci zone or Wave 1 high
This setup gives margin for error and smart placement of risk stops. It also helps traders avoid chasing price, since entries are planned at key retracement zones.
How to Confirm Wave 4 Has Ended?
Wave 4 may be challenging since it frequently seems like the trend is still correcting. To confidently start Wave 5, it is essential to know when it finishes.
To obtain clarity, traders rely on a mix of price movement, momentum, and volume. Here are four trustworthy methods to verify that Wave 4 has ended:
- Price Holds Above Wave 1 High
The price frequently finds support above the peak of Wave 1 when the corrective Wave 4 concludes.
This shows that sellers are losing power and that the trend is set to pick back up.
- Momentum Indicator Signal
The end of Wave 4 is confirmed by indicators such as MACD and RSI. An oversold comeback or a bullish crossing can indicate that momentum is turning back upward.
This is an early warning that Wave 5 may be about to begin.
- Candlestick Reversal Pattern
The end of Wave 4 may be indicated by reversal candlestick patterns like morning star, bullish engulfing, or hammer.
These patterns indicate that buyers are taking back control and frequently provide traders with a visual indication to join the following wave.
- Volume Pickup
The trend shift is frequently confirmed by volume. Stronger customer commitment is shown by a discernible rise in purchasing volume as Wave 4 comes to a finish.
Wave 4’s low volume, followed by a rise, is a clear indication that Wave 5 is about to start.
Traders may more confidently join Wave 5 by combining these indications.
Observing several confirmations enhances accuracy and timeliness, while relying just on one aspect raises danger.
Wave 5 Target: Where To Exit After A Wave 4 Entry?
Knowing your Wave 4 entry is only half the battle; without a Wave 5 target, your trade setup is incomplete.
Determining the potential Elliott Wave 5 length is essential because it helps you decide if the risk-to-reward ratio for the trade is actually worth it.
Two practical methods can help project where Wave 5 may end:
1. Wave 5 Equal To Wave 1

A common approach assumes Wave 5 mirrors the length of Wave 1, particularly when Wave 3 is the extended wave in the impulse structure.
Using the above ₹100–₹150 stock example:
- Wave 1 moved from ₹100 to ₹120 (gain of ₹20)
- If Wave 4 ends near ₹125, adding Wave 1’s length projects Wave 5 target around ₹145
This projection gives a logical price target based on prior wave symmetry. It also helps traders set realistic exit zones instead of guessing the top.
2. Trend Channel Method
This method helps traders visualize the structure and strength of the ongoing trend clearly.

It draws a channel from Wave 2 to Wave 4, then parallels it through the top of Wave 3:
- Draw a trendline connecting the end of Wave 2 and Wave 4
- Draw a parallel through Wave 3’s peak (₹150)
- The upper line marks the Wave 5 target, often slightly above the Wave 3
Both methods provide clear exit points, giving traders not only entry and stop levels but also a realistic profit target.
This completes the trade setup for a Wave 4 entry, turning a potential guess into a structured plan.
Practical Trading Scenario
Let’s understand a practical trading scenario through a chart:

Look at the above stock, which rallied from ₹100 to ₹150 (Wave 3). You plot Fibonacci from ₹100 to ₹150:
- 38.2% retrace: ₹131
- 50% retrace: ₹125
If price bounces near these zones, holds above the previous Wave 1 swing high, and volume turns supportive, you might enter long targeting Wave 5.
Volume typically declines during Wave 4 correction, reflecting reduced selling or buying pressure, and begins to pick up again as Wave 5 starts, confirming the resumption of the trend.
Your stop naturally goes just below the structure.
Final Thoughts
Most traders sit on the sidelines during Wave 4 waiting for clarity.
But here is the truth: the Elliott Wave 4th Wave Retracement is where the real opportunity quietly builds.
Knowing your Fibonacci levels, respecting the retracement rules, and watching for overlaps keeps your count valid and your risk in check.
Wave 4 is never just a correction. It is the market giving you one more chance to get on the right side of the trend before Wave 5 makes its move.
Trade it wisely, and the trend becomes your biggest advantage.
The difference between waiting and winning often comes down to preparation.
If you want to learn how to spot and trade these opportunities with confidence, join our stock market classes, where real market moves are broken down into clear, actionable insights.
FAQs
Q1: How to Trade the Fourth Wave?
Ans: Traders use Fibonacci retracement zones of Wave 3, watch for price holding above Wave 1, and enter near the end of Wave 4 with stops below key support.
Q2: What patterns does Wave 4 usually form?
Ans: Wave 4 tends to take the form of zigzags, flats, or triangles and offers a sideways corrective break at the end before the last Wave 5 push.
Q3: Why is Wave 4 important in trading?
Ans: It provides a low-risk entry to the trend before the Wave 5, and allows for estimating momentum strength to make a wiser decision.
Before investing capital, invest your time in learning Stock Market.
Fill in the basic details below and a callback will be arranged for more information: